
Painting Your Own Walls: What First-Timers Usually Get Wrong

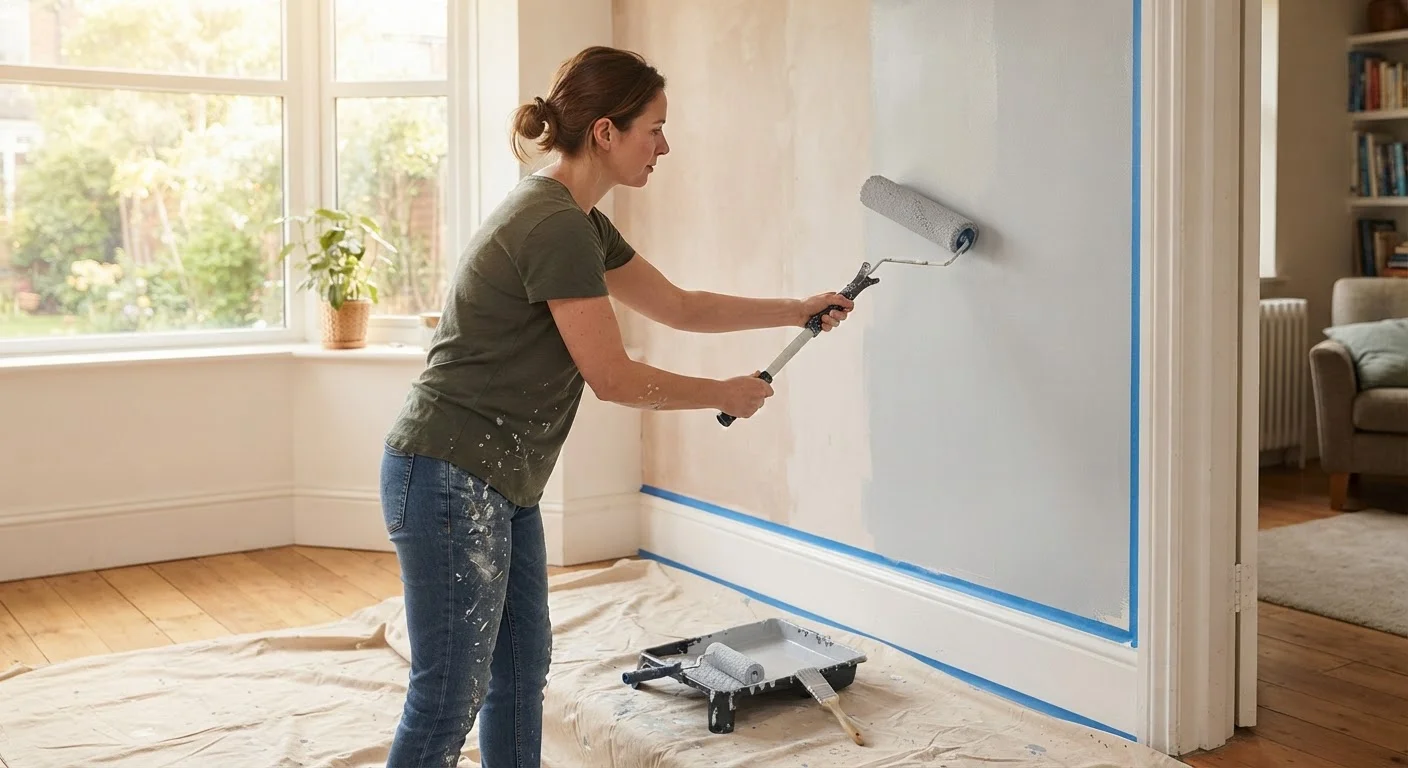
Photo: nativeinfoline.com editorial
Key Takeaways
- Skipping wall prep is the single biggest reason first-time paint jobs fail prematurely.
- Paint finish choice affects both appearance and durability, and the wrong one is hard to fix.
- Cheap or improperly applied painter's tape causes bleed-through that ruins clean edges.
- One coat of paint rarely covers adequately, even with high-quality paint.
- Primer is not optional when switching from a dark color or painting bare drywall.
Why DIY painting goes wrong before you open a can
Painting your own walls is one of the most cost-effective home improvements you can make. Professional painters typically charge between $2 and $6 per square foot for labor alone, so a single room can run several hundred dollars before paint is factored in. Doing it yourself cuts that cost to materials only.
The gap between a professional result and a frustrating one is almost never about talent. It comes down to preparation, product selection, and patience. First-timers tend to skip steps that feel unnecessary until the finished wall reveals exactly why those steps exist.
The mistakes below are the ones that show up most consistently. Each one is avoidable with the right information before you start.
Skipping wall cleaning and repair before painting.
Not using primer when it is actually needed.
Applying paint in one thick coat instead of two thin ones.
Using painter's tape incorrectly or choosing the wrong type.
Starting with the walls instead of the ceiling and trim.
Cutting in and rolling in separate sessions without maintaining a wet edge.
Choosing the right finish and planning your budget
Paint finish is a separate decision from color, and it has real consequences. Flat or matte finishes hide surface imperfections well but scuff easily and are difficult to wipe clean. Eggshell and satin finishes hold up better in high-traffic rooms like kitchens, hallways, and children's rooms. Semi-gloss works on trim and doors because it resists moisture and cleans easily. Using flat paint in a bathroom, for example, often means repainting within a year or two.
Budget planning for a paint project is straightforward if you measure correctly. Calculate square footage by multiplying wall height by the perimeter of the room, then subtract roughly 20 square feet for each standard door and window. Most paint covers 350 to 400 square feet per gallon. Buy enough for two full coats, and keep the color code so you can buy a matching touch-up quantity later.
For more general advice on planning home project costs within a household budget, see this practical starting point for family budgeting. If you are weighing paint against other wall treatments, a comparison of peel-and-stick and traditional wallpaper covers longevity and finish quality in detail.
When to accept the limits of DIY
Most interior wall painting is well within reach for a careful first-timer. However, walls with severe water damage, significant mold staining, or crumbling plaster need professional assessment before any paint goes on. Painting over active moisture problems will not fix them and can make the underlying issue worse.
Ceilings over 10 or 12 feet, stairwells with awkward angles, and rooms with complex trim work are also situations where renting scaffolding or hiring a professional for specific sections may be worth the cost. A balanced look at DIY versus hiring a pro can help you think through where that line falls for your specific project.
For budget-conscious finishes beyond paint, affordable materials that look expensive in any room covers options like peel-and-stick tile and contact paper that can work alongside a fresh paint job.
The content provided on our blog site traverses numerous categories, offering readers valuable and practical information. Readers can use the editorial team’s research and data to gain more insights into their topics of interest. However, they are requested not to treat the articles as conclusive. The website team cannot be held responsible for differences in data or inaccuracies found across other platforms. Please also note that the site might also miss out on various schemes and offers available that the readers may find more beneficial than the ones we cover.