
Weatherstripping and Caulking: The Low-Cost Fixes That Quietly Reduce Energy Bills

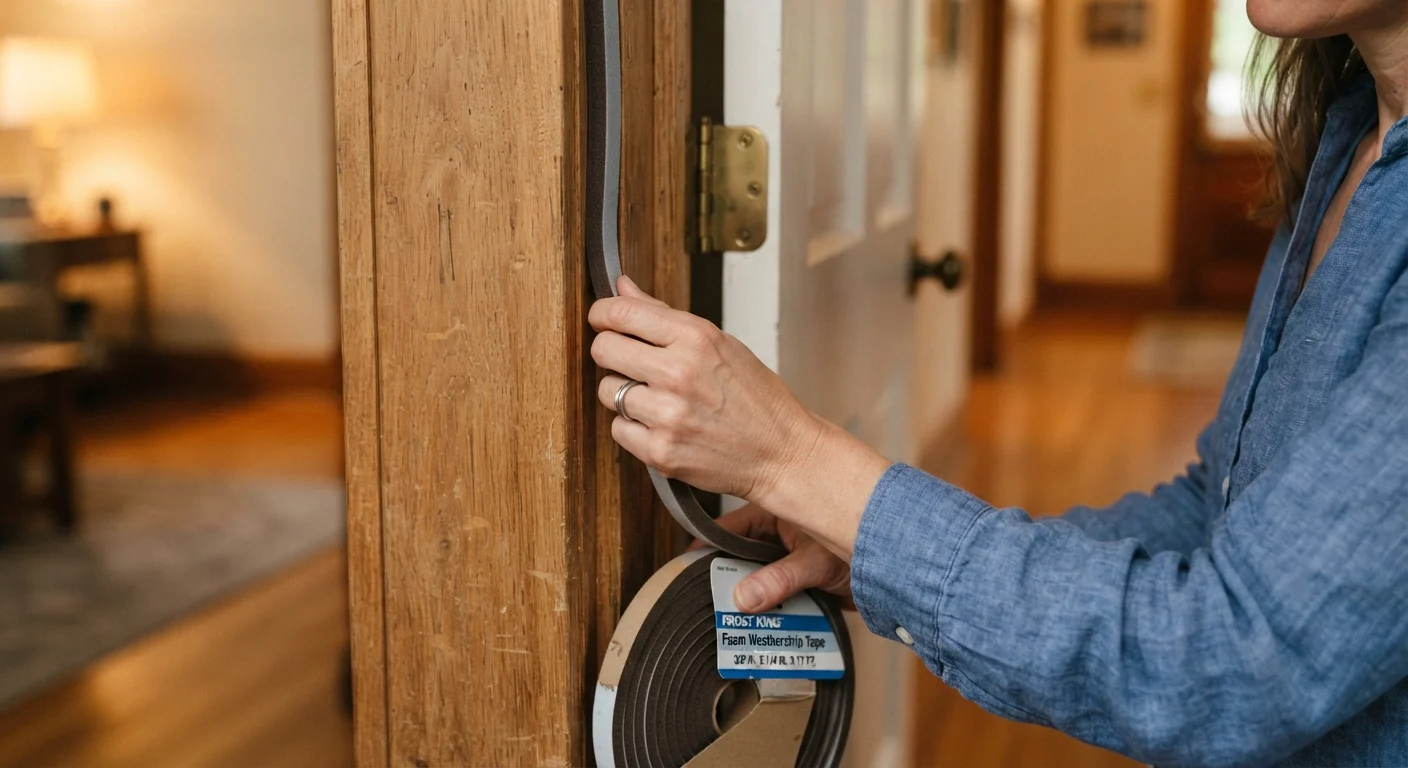
Photo: nativeinfoline.com editorial
Key Takeaways
- Air leaks around doors and windows can account for a significant share of a home's heating and cooling costs.
- Weatherstripping seals movable components; caulk seals fixed joints. Using the wrong product in the wrong place shortens its lifespan.
- A basic draft inspection costs nothing and can be done with a candle or your hand on a cold day.
- Most weatherstripping and caulking projects are well within DIY reach and require only basic tools.
- Sealing air leaks is often more cost-effective per dollar spent than upgrading insulation or equipment.
Why small gaps cost real money
A gap the width of a coin running along the bottom of an exterior door is roughly equivalent to leaving a small hole in your wall year-round. Air conditioned in summer and heated air in winter escape continuously, while outdoor air replaces it. Your HVAC system compensates by running longer, and the meter runs with it.
The problem is widespread. Older homes built before modern energy codes are particularly leaky, but even newer construction develops gaps as framing lumber shrinks and building materials settle. Door frames shift slightly. Window caulk cracks with repeated freeze-thaw cycles. The cumulative effect is a house that breathes far more than it should.
Before spending money on new windows or a furnace upgrade, it makes sense to audit and seal what you already have. Weatherstripping and caulking materials are inexpensive, and the labor is almost entirely DIY-appropriate. See our seasonal home maintenance checklist for how air sealing fits into a broader fall prep routine.
25-40%
Share of home energy lost to air leaks
The U.S. Department of Energy estimates that air infiltration through gaps and cracks accounts for 25 to 40 percent of heating and cooling energy use in a typical American home.
$0.50-$3
Approximate cost per linear foot of weatherstripping
Retail prices for common weatherstripping materials such as foam tape and V-strip generally fall in this range, making door and window sealing among the lowest-cost weatherization measures available.
Where to look first
Start at the most common leak points before inspecting less obvious spots.
- Exterior door edges: the top, latch side, hinge side, and bottom
- Operable windows: the sash perimeter and any gaps between sash rails
- The joint where window and door frames meet the surrounding wall or siding
- Electrical outlets and switch plates on exterior walls
- Attic hatch perimeters
- Gaps where pipes or wires penetrate exterior walls
On a cold day, move your hand slowly along each of these areas. Noticeable temperature change means air is moving through. A lit incense stick held nearby will show the airflow direction visually. Focus your repair effort on spots where you detect the strongest draft first, since those produce the largest losses.
Choosing the right material for each job
The most common mistake in DIY air sealing is using caulk where weatherstripping belongs, or vice versa. The distinction is straightforward: if the surface moves when the door or window operates, use weatherstripping. If the joint is fixed, use caulk.
Weatherstripping options
Foam tape is the easiest to install and the least expensive, but it compresses and wears quickly on high-traffic doors. It works well on windows that are rarely opened.
V-strip (tension seal) is a folded plastic or metal strip pressed into the sides of door or window channels. It is more durable than foam and handles repeated movement without degrading as fast.
Door sweeps attach to the bottom of an exterior door to block the gap between the door bottom and the threshold. Automatic door bottoms retract when the door opens, which extends their life on frequently used doors.
Caulk options
For exterior joints, a flexible silicone or siliconized latex formula holds up to temperature swings and moisture. Interior joints around window and door trim can use a standard paintable latex caulk. Check the label for the material compatibility with your specific surface, since some caulks do not bond well to certain plastics or treated lumber.
How to apply weatherstripping and caulk
Both tasks need the surface clean and dry before you start. Adhesion fails on dusty, painted-over, or damp surfaces, so wipe down the area and let it dry completely.
Applying weatherstripping
- Remove all old weatherstripping and adhesive residue with a putty knife and, if needed, a small amount of adhesive remover.
- Measure the door or window perimeter and cut the new material to length with scissors or a utility knife.
- Press foam tape or V-strip firmly into place, starting at one corner. For V-strip, the open side of the V faces outward so the folded edge compresses against the door stop.
- Install a door sweep by holding it against the closed door bottom, marking the screw holes, and fastening it level. The sweep should contact the threshold firmly without making the door hard to open.
Applying caulk
- Cut the caulk tube tip at a 45-degree angle to a small opening. A smaller opening gives you more control.
- Hold the gun at a consistent angle and move at a steady pace along the joint, keeping the bead continuous.
- Smooth the bead immediately with a wet finger or a caulk tool. This presses the caulk into the joint and creates a clean surface.
- Allow full cure time before exposing the joint to moisture. Cure times vary by product, so read the label.
Refer back to our winter preparation checklist to schedule this work before temperatures drop, when caulk adhesion is at its best.
What to expect from the results
You will likely notice the draft reduction immediately on doors and windows you have just sealed. The change on your energy bill appears gradually over billing cycles, and the magnitude depends on how leaky your home was before and how thoroughly you sealed it.
Air sealing does not eliminate the need for adequate insulation, but it reduces the work insulation has to do. A well-insulated wall still loses heat quickly if air is moving through gaps around it. Sealing first, then evaluating insulation, is the logical order.
Inspect all weatherstripping once a year, since foam tape in particular compresses with use and loses its seal. Exterior caulk joints deserve a look each fall; any cracked or separated sections should be cut out and re-done before cold weather sets in. A small tube of caulk and an hour of attention each fall keeps the work you have already done from gradually undoing itself.
A family notices their living room feels cold near the front door even though the furnace is running. They hold a tissue along the door perimeter and watch it flutter along the entire latch side.
A homeowner recaulks the exterior joint around a double-hung window after noticing the old caulk had pulled away from the siding in several places.
A renter in an older apartment uses removable foam tape around a drafty sliding window to reduce heat loss during winter without making permanent modifications.
Frequently Asked Questions
The content provided on our blog site traverses numerous categories, offering readers valuable and practical information. Readers can use the editorial team’s research and data to gain more insights into their topics of interest. However, they are requested not to treat the articles as conclusive. The website team cannot be held responsible for differences in data or inaccuracies found across other platforms. Please also note that the site might also miss out on various schemes and offers available that the readers may find more beneficial than the ones we cover.