
The Weekend Grout Refresh: Renewing Tile Without Replacing It

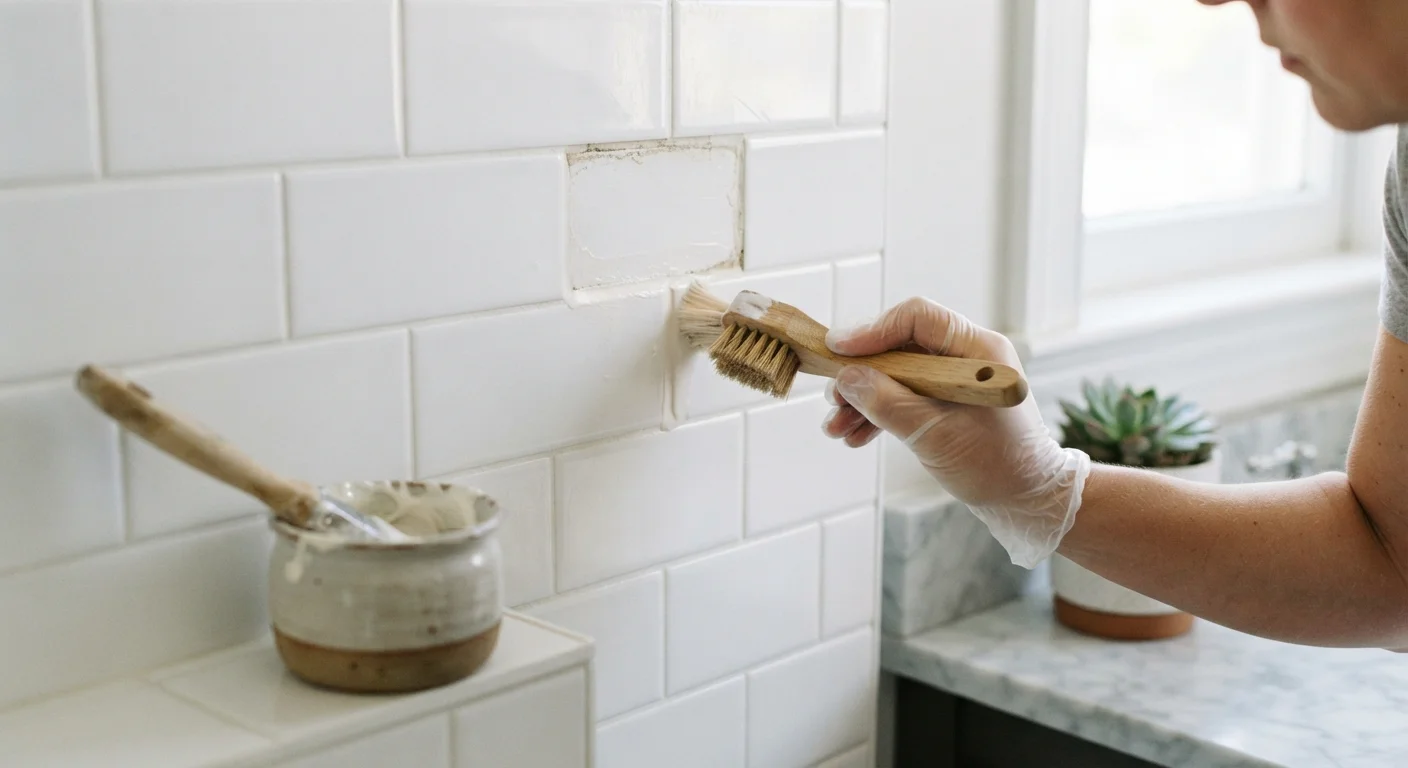
Photo: nativeinfoline.com editorial
Key Takeaways
- Deep cleaning grout before any other step can eliminate discoloration without the cost of regrouting.
- Removing old grout with a manual or oscillating tool takes patience but protects tile from damage.
- Pre-mixed sanded grout works for most floor and wall tile joints wider than 1/8 inch.
- Sealing fresh grout after it cures for 48 to 72 hours prevents future staining.
- The total material cost for a standard bathroom is typically under $60.
Why grout fails and what you can actually fix
Grout is porous. Without a protective sealer, it absorbs soap residue, minerals from water, and mold spores over time. The result is grout that looks gray, yellow, or black even when the surrounding tile is clean. Before committing to full regrouting, it is worth knowing which problem you actually have.
Surface staining responds well to a thorough chemical clean. Mold that sits on top of grout rather than inside it can often be lifted with a bleach-based cleaner and a stiff brush. Cracked, crumbling, or missing grout requires physical removal and replacement. Grout that has separated from the tile at a corner or where a wall meets a floor usually means some structural movement has occurred; silicone caulk handles that joint better than grout, which is too rigid to flex.
If your tile itself is sound, a grout refresh is almost always less expensive than new tile. For ideas on other budget-friendly ways to improve a room's finish, see our guide to affordable materials that look expensive.
What you will need
Step-by-step grout refresh process
Work in sections of about four square feet at a time. Grout sets faster than most people expect, and smaller sections give you control over the process.
Test clean the grout first
Mix a small amount of oxygen bleach powder with warm water to form a paste. Apply it to a test section of grout, leave it for 10 to 15 minutes, then scrub with a stiff nylon grout brush. Rinse thoroughly. If the grout color returns to something close to its original tone, cleaning alone may solve the problem. If the grout crumbles, cracks, or remains badly stained after cleaning, proceed to full removal.
Remove deteriorated grout
For small areas, a manual grout saw (a carbide-tipped blade on a handle) removes old grout without risking tile damage. For larger jobs, an oscillating multi-tool fitted with a grout removal blade is faster. Set the depth to match roughly two-thirds of the grout line depth, not all the way to the substrate. Vacuum the joints thoroughly after removal to clear dust and loose debris.
Clean and dry the joints
Wipe the open joints with a damp sponge to remove residual dust. Let the area dry completely, at least two hours, before applying new grout. Moisture in the joint interferes with bonding and can cause the new grout to crack prematurely. A portable fan aimed at the surface speeds drying.
Mix and apply new grout
For joints wider than 1/8 inch, use sanded grout. For narrower joints, unsanded grout is less likely to scratch the tile surface. Mix according to the package ratio until the consistency resembles thick peanut butter with no dry pockets. Hold a rubber grout float at a 45-degree angle and press the grout firmly into the joints, working diagonally across the tile face so the float does not drag material back out of the joint.
Clean the tile face and shape the joints
Wait 10 to 20 minutes after application, then wring a large sponge nearly dry and wipe the tile surface in a circular motion to remove the haze. Rinse the sponge frequently. After the first pass, use the tip of the sponge or your finger to lightly tool each grout line into a consistent concave profile. Let the surface dry for another hour, then buff any remaining haze off the tile with a dry microfiber cloth.
Sealing and maintaining refreshed grout
New grout should cure for at least 48 to 72 hours before you apply sealer. The exact window depends on product instructions and bathroom humidity. Rushing this step produces a sealer that traps moisture beneath the surface rather than protecting the grout from above.
Apply a penetrating grout sealer with a narrow foam applicator or a small brush. Work it into the grout line, let it sit for five to ten minutes, then wipe any excess off the tile face with a dry cloth. A second coat applied 30 minutes after the first gives better coverage without adding significant cost.
After that, the maintenance routine is straightforward. Spray a diluted all-purpose bathroom cleaner weekly, rinse with water, and let surfaces dry. Running a bathroom exhaust fan during and after showers reduces the humidity that drives mold growth. Most homeowners find that sealed grout stays clean with this routine for two to three years before resealing is needed.
The content provided on our blog site traverses numerous categories, offering readers valuable and practical information. Readers can use the editorial team’s research and data to gain more insights into their topics of interest. However, they are requested not to treat the articles as conclusive. The website team cannot be held responsible for differences in data or inaccuracies found across other platforms. Please also note that the site might also miss out on various schemes and offers available that the readers may find more beneficial than the ones we cover.